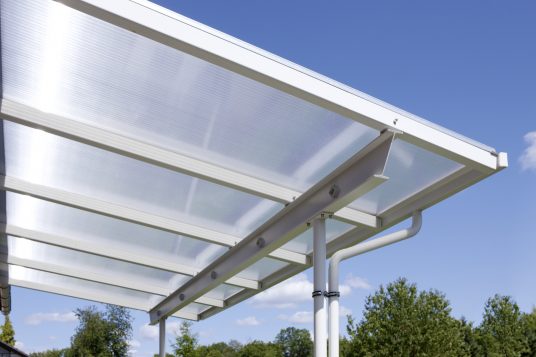
Laying corrugated sheets - quickly and by yourself
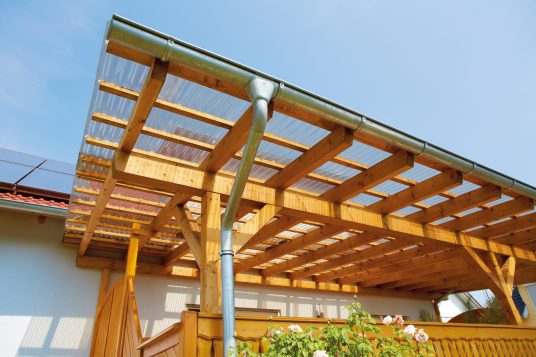
Corrugated plastic sheets (profile plates) have numerous valuable uses for roofs and walls. Available in a wide variety of materials, shapes and colours, every do-it-yourselfer will find a product that is well suited for his or her purposes. Your selection of translucent corrugated sheets made of polycarbonate, acrylic, PVC or polyester depends on the intended use and individual requirements. Specific differences can be found on our product pages or in our product brochures in the download area. On-site advice at a home improvement centre can clarify further questions.
Correct storage of corrugated sheets
Handling panels properly begins with storage. They should not lie directly exposed to the sun for long periods of time, as they could easily deform at excessive temperatures in the stack. It is best to store the panels flat until use and to cover them with a foil or some cardboard so that they do not get dirty. Beware of abrasive cleaning agents when cleaning corrugated sheets: A mild soap solution, a sponge and plenty of water are sufficient for cleaning.
Laying corrugated sheets: The substructure
To correctly install the roofing the roof pitch should at least be at an inclination of 10°, with the minimum value being 7°. When laying the corrugated sheets, either wooden battens or metal are suitable as a substructure. In the first step, the support surfaces are painted white or provided with a reflective adhesive tape (guttagliss silver adhesive tape) in order to prevent heat accumulation. The distances between the corrugated sheet supports should measure 50 centimetres for PVC and polyester, or 80 centimetres for polycarbonate and acrylic. In case of high wind and snow loads, distances should be reduced accordingly.
Drilling with purpose-built plastic drills
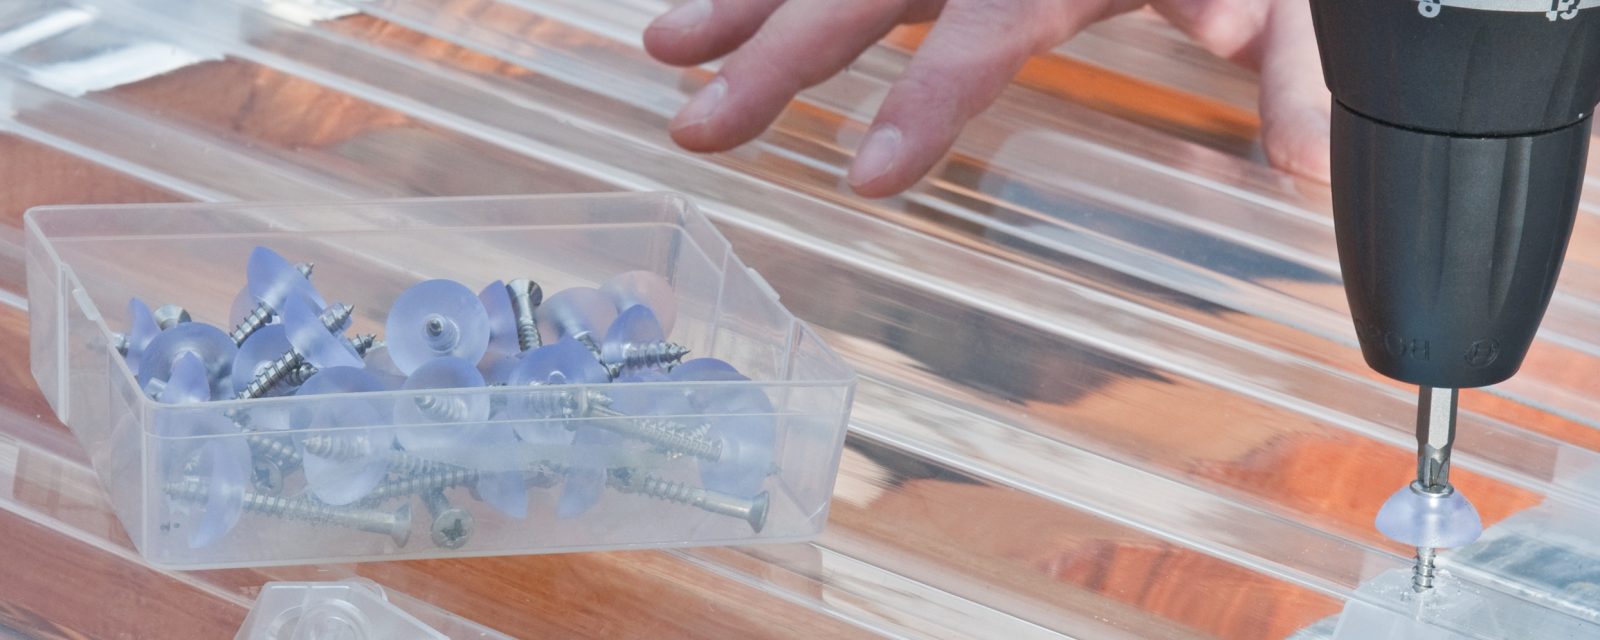
To process the corrugated sheets, use a hand or table circular saw with a saw blade that can handle plastic (fine-toothed), or a jigsaw. Always work with a stop to prevent tilting. When drilling, it is recommended to use the special stepless guttagliss plastic drill, starting with a test hole and switching out the tool if any cracks appear at the edges. Do-it-yourselfers should make sure that the drill holes are about 3 to 4 millimetres larger than the diameter of the screw shank. This ensures that the corrugated sheets can expand or shrink in the event of changes in temperature.
Lay corrugated sheets against the direction of the wind
In order to lay corrugated sheets one should work against the main direction of the wind, and in any case from the eaves towards the roof ridge. The sheets are screwed on at every 3rd wave crest, in the edge and overlap area at every wave crest (except for 3 mm acrylic sheets – here every 2nd wave crest is sufficient).
Check for the upper and lower side
If you have opted for profile plates with a one-sided structure, make sure that it faces downwards. In the case of corrugated sheets with only one-sided UV protection (guttagliss macro), the protected side must naturally face upwards to work properly. If corrugated sheets are attached to a wall, the screw connection is made in the corrugated trough, always on the second or third wave crest.
Providing height overlap for corrugated sheets
Remember: A height overlap of at least 150 mm must also be ensured in order to lay corrugated sheets safely. If the roof pitch is less than 10 degrees, increase this value to 200 mm, sealing with silicone if necessary. Coverage should extend out by one wave at the side; 2 waves for low roof pitches and/or high snow loads. Finally, one must not forget to provide rear ventilation as required according to DIN 4108. This is not necessary in the case of open buildings such as carports, shelters, etc.

